It feels too warm to reminisce about the hat I made in February but I'm still so proud of it, I'm going to reminisce anyway. I used the Berroco free pattern for the Phannie hat. It was my first try at a round...
.JPG)
.JPG)
.JPG)
And, of course, it matches my scarf and jacket perfectly :)
.JPG)
At some point I realized I could probably crochet a heart...and I became obsessed with them! I made a few for valentines day, one of the patterns I used was from http://cornflowerbluestudio.blogspot.ca/2012/01/how-to-crochet-heart-photo-tutorial.html and the other, my favourite because of how bubbly it is, was from http://www.youtube.com/watch?v=s5LUk8XOYEs&noredirect=1 (the ones in the picture are all the "easiest crochet heart" from the youtube video.)

I sent a bunch out in the mail to family and friends as a little valentine's day surprise and I made a door decoration with the leftovers. I love sewing little motifs together!!

Next I thought I'd try a square. I had a plan to crochet a large-ish square and then somehow crochet around it in a different colour to made a little netbook case/purse...but I should have known when my square didn't go as planned that I was not ready for this kind of improvisation...

It was supposed to be this square http://www.allcrafts.net/fjs.htm?url=web.archive.org/web/20040405131704/http://members.aol.com/cillcrochets/springsq.html but with a chunkier yarn...Somewhere along the line I added some stitches, as usual, and did not feel like ripping it apart to find out where. So, I went as far as I could with the extra stitches and then just single crocheted around to finish off. I still think it's pretty, it's not a square, but I like it. So I tried to continue with my plan, but I just had no idea how to really do it, so I quit. This was what I ended up with, my second or third try, before I tore the green out and quit.

I just couldn't figure out how to stitch the green into the purple nicely each time I came around, and no matter what I did it kept getting too big. I wanted a tight fit for my netbook, so I would chain until it was a tight chain around the computer, but then as soon as I did my double crochets into the chain, it was way too loose. I still haven't tried again, I'll wait until I feel like being frustrated...
Next I became obsessed with making some crocheted earrings, and this is what came of it...

I'm really happy with them. I used this pattern/video http://crochet-mania.blogspot.ca/2011/03/crochet-teardrop-earring.html and it was super easy. When I went to buy the crochet thread I was a little shocked at how thin the size 10 is. I was even more shocked when I saw how tiny a 1mm steel crochet hook is! I needed a ton of light to crochet with that tiny black thread and that tiny hook but it was worth it.
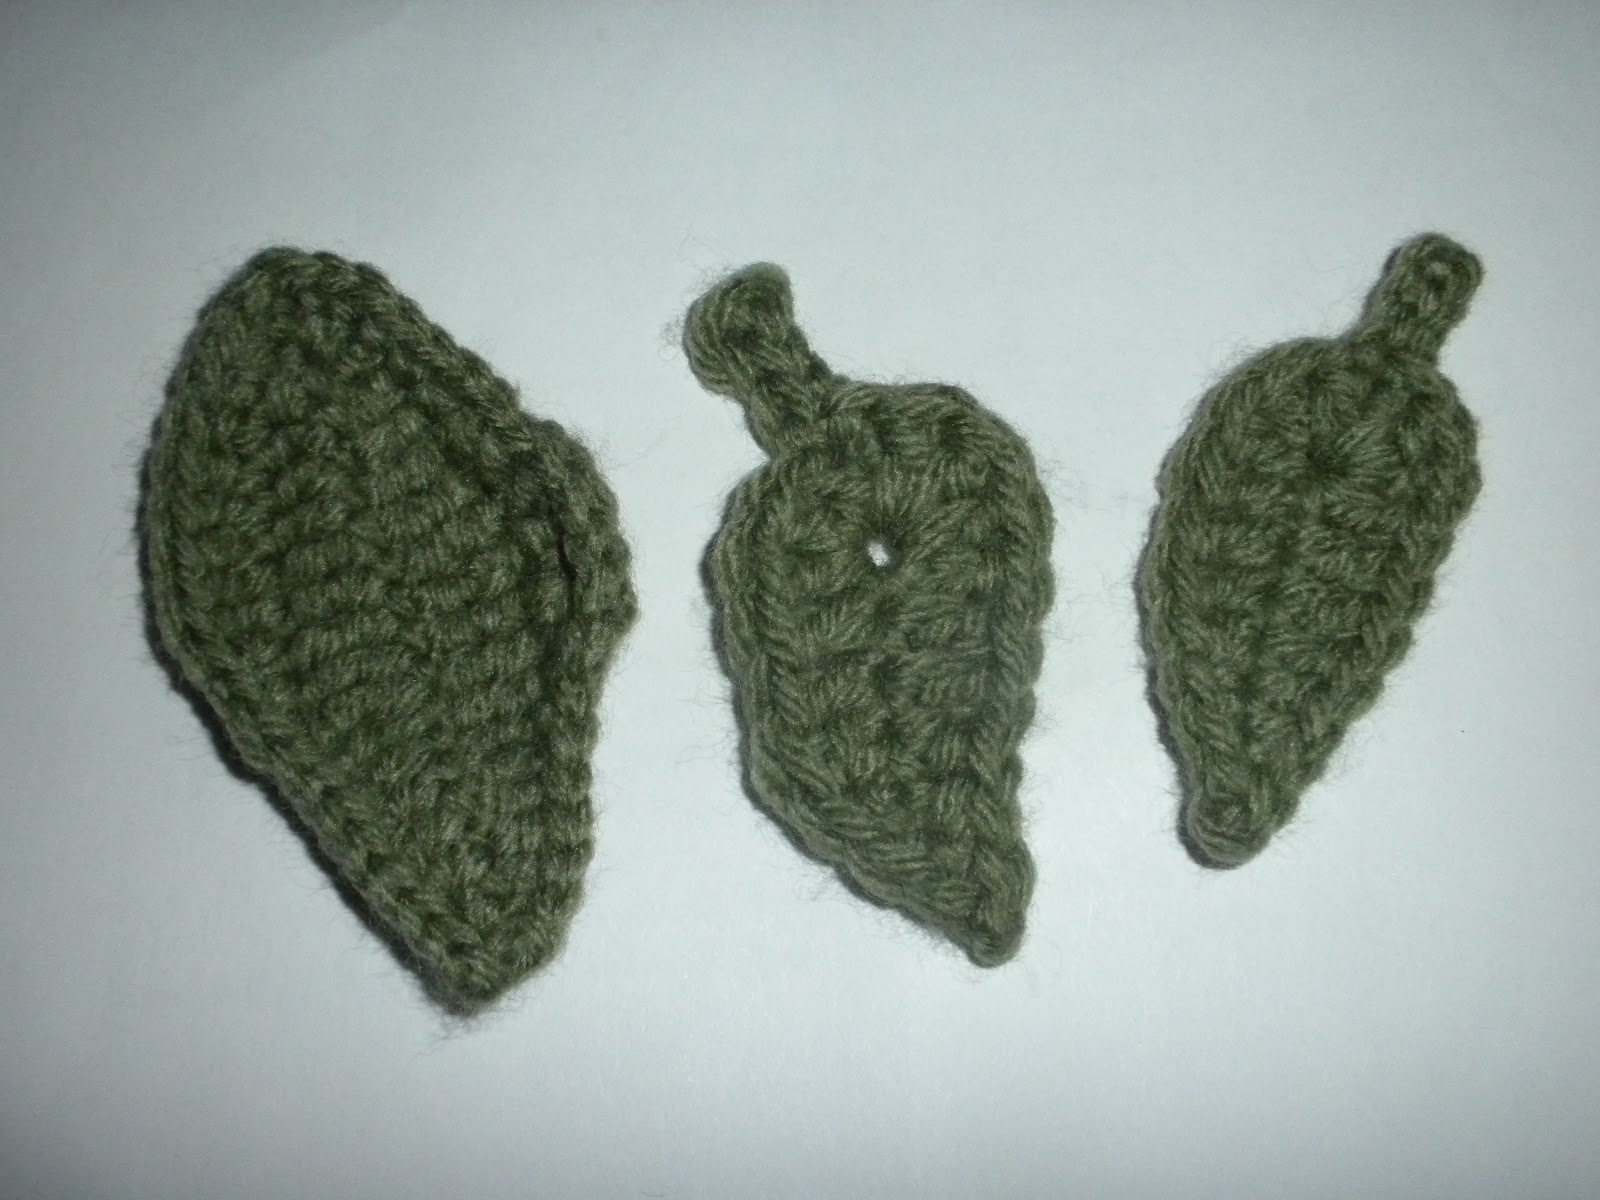
Then, as I am obsessed with leaves anyway, I figured I needed to find some leaf patterns. I tried two different patterns and I like the second better. This one is really pretty in the picture http://www.crochetme.com/media/p/95203.aspx but I think as just a leaf on its own it's not what I was looking for. This one is the one I'm still using constantly http://windrosefiberstudio.blogspot.ca/2011/08/veined-leaf-free-crochet-pattern.html
These are the comparisons of my first few leaves, the largest is from the first pattern and the other two are from the second, made with different sized hooks.
Next I wanted to make more jewellery with the tiny black thread and the tiny hook, and I found this beautiful bracelet pattern! http://www.crochetme.com/media/p/94629.aspx
I LOVE this flower! And I love the bracelet I made :)

I improvised a beaded toggle instead of the two buttons just because I didn't have two pretty little matching buttons. The bracelet sort of curled when I wore it a while, probably because of the toggle rather than the buttons, so I went about finding a decent homemade blocking solution because I don't own an iron or ironing board so starching won't work. I found a great site about different stiffening techniques http://www.crochetmemories.com/crochet8.php and I tried the equal parts sugar and water and it worked great for this bracelet. Caution though- I dried it between two towels with some heavy things on top so it would be nice and flat, but the towels were light in colour and the first time I did this I had to peel it off the towels and the fluff stuck to it. So I had to rinse it out and do it again, this time I just let it dry on some wax paper because it was pretty flat. And it turned out great. Also, instead of dipping the whole piece in the solution and trying to get as much liquid out without wringing, I just used a little silicone sauce brush to brush the solution all over both sides intil it was damp but not soaking. I like this better I think because I'd be really worried about not getting enough liquid out or stretching it trying to get the liquid out. This way I can just brush on enough that I'm comfortable with and that doesn't seem like it's too much liquid for the piece to hold.
Well, the sun's going down and it's getting too cool out here for my tank top and bare feet, so I'm going to call it a day on this blog update.
No comments:
Post a Comment